

Have you ever wondered what exactly goes into making a quilt? My first blog post explains the step-by-step process from start to finish.
Supplies – Before even deciding on fabric and a quilt pattern/design, there are basic tools and supplies you will need. Obviously a good quality, reliable sewing machine is required. I use a Juki TL-2010Q that I bought specifically for piecing quilts. It is a semi-industrial machine that is very durable and reliable for every day use.
You will want to have multiple spools of thread in multiple colors on hand. I like to use 100% cotton thread. Other tools that you will need include a large cutting mat, quilting rulers, (I use a large 6 by 24 inch acrylic ruler along with several other smaller rulers and templates for cutting shapes), a rotary cutter (with extra blades on hand), pins, a seam ripper, multiple pairs of different size scissors, a tape measure, an iron, a large padded surface for ironing quilt blocks, and a nice selection of hand sewing needles.
Quilt Pattern and Fabric – Decide on a quilt pattern and make your fabric selections according to the pattern requirements.
Cut Fabric – I always use a rotary cutter, acrylic rulers, and templates if possible. It is best to always follow directions from the quilt pattern exactly. Precision and accuracy in cutting is of the utmost importance. After all fabric is cut, I utilize a system for organizing all the fabrics according to shape and color. Sometimes I will lay out all fabric pieces before piecing the quilt blocks if I am still deciding on the design.
Quilt Top – Sew together all quilt blocks, making sure that each seam is carefully pressed before sewing the next fabric piece to the block. After all, blocks are pieced and pressed, I then arrange all blocks together and sew them together row by row. After each row is pieced, the rows are then sewn together. This process can be very time-consuming and tedious because you will want to make sure all seams and points match perfectly. All seams should be ¼ inch in width.
Basting – Basting is a temporary way of holding together all the layers so that they will stay together during the quilting process. Here is a great tutorial on pin-basting a quilt. This keeps
all three layers of the quilt sandwich together before you quilt it.
Quilting – There are three main ways you can quilt your quilt. The most traditional and the most time consuming method is hand quilting using a full quilting frame. My grandmother, mother, and aunt made all their quilts this way. If you have the skills and patience to do this, the result is quite beautiful and these types of quilts generally have a softer feel to them. Quilts that are hand quilted can be very costly when you consider the hundreds of hours spend on the hand quilting process.
Machine quilting on a home sewing machine is another popular way to quilt. When I am quilting on my home machine, I usually do straight line or wavy line quilting using a walking foot.
Free motion quilting using a special quilt foot is yet another method of machine quilting, and this method does require a great deal of practice. For straight line quilting, you should use a walking foot; and for free motion quilting, you should use a quilting foot. These are special attachments you can purchase for a home sewing machine.
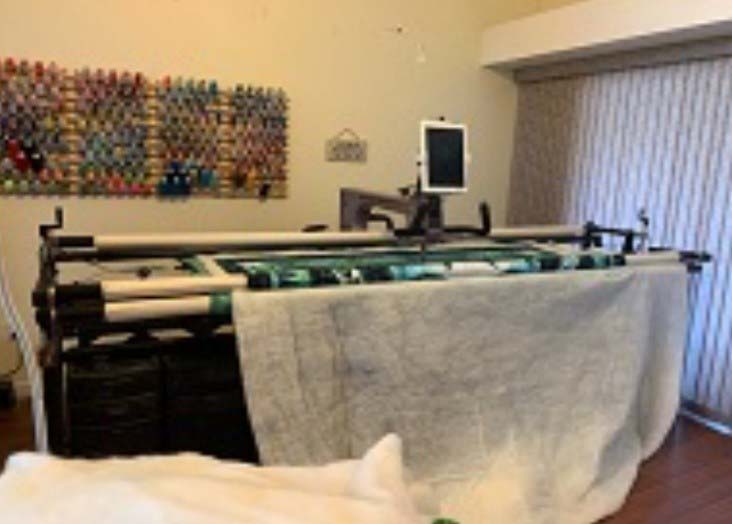
The third quilting method and one that I regularly utilize is long-arm compu- terized quilting. In order to make a larger quantity of quilts with beautifully designed quilting patterns, a computerized long-arm quilting machine is absolutely necessary. With the long-
Arm quilting machine, the basting process is eliminated in that all three layers – the quilt top, the batting, and backing fabric – are loaded on the machine. These machines are massive and are very expensive. Here is one shown below.
Binding – The last step of making a quilt is to bind the quilt. The binding will be made from a coordinating fabric or a fabric that matches the backing fabric. The first part of the process is to make the quilt binding. The second part is
actually sewing the binding to the quilt itself. Here is a great tutorial on the quilting binding process.
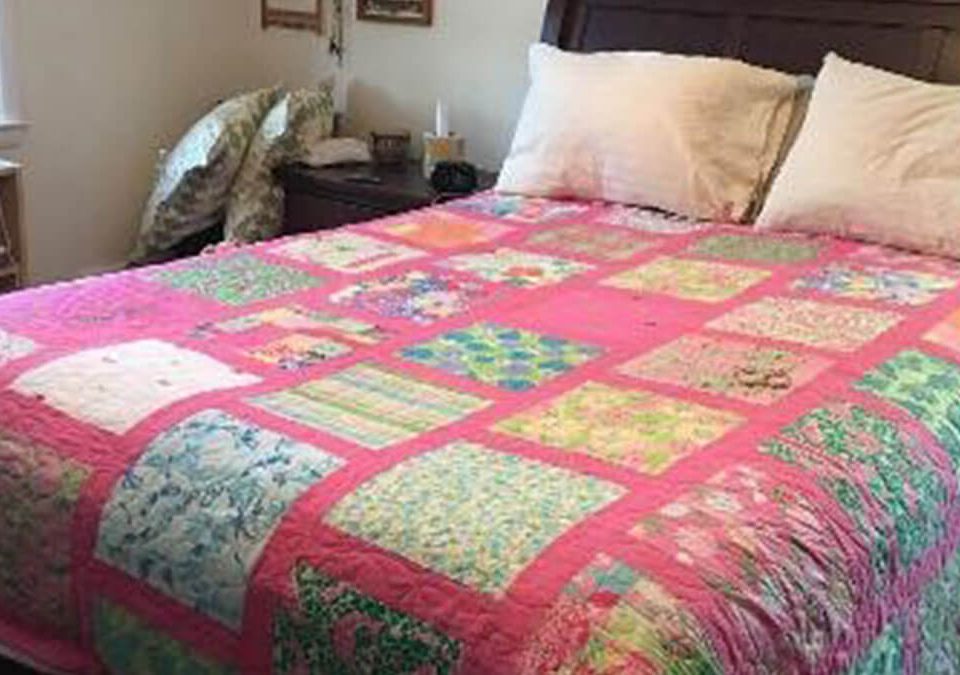
After the binding is sewn to the quilt, I like to finish bindings by hand. This involves slip
stitching the binding to the quilt backing fabric. Completing the binding is the last step in the quilting process
I hope you have enjoyed reading about the quilt-making process. I appreciate any comments you would like to make. Thanks for reading my first blog post.

